
Asp.net Validators
Almost all web applications contain forms and so validating the data which users enter into forms is a fundamental part of web application development.
With classic Asp this was a manual process. While it was true that certain validation code could be reused by copying and pasting or including in include files, the whole process of form validation was a little on the tedious side.
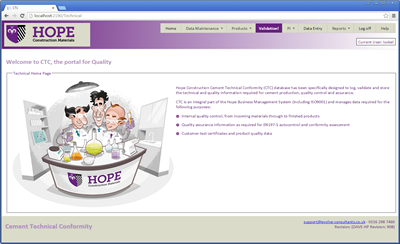
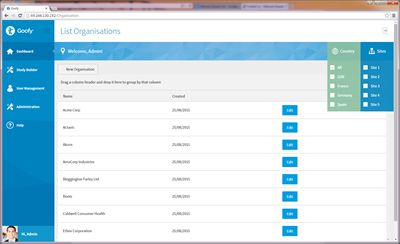
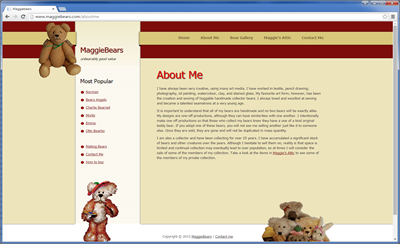
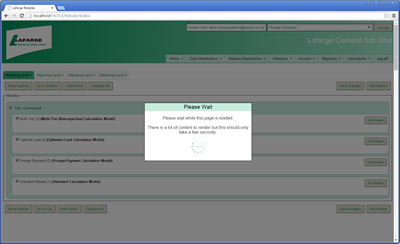
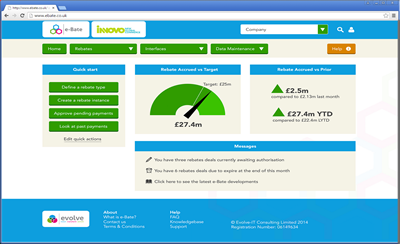
With asp.net we have a new option for form validation which exists in the suite of validation controls which are provided for us. Now we don't have to use these at all if we don't want to and some people prefer not to. There is nothing wrong with that and is really just a matter of choice. For example in an application I was recently involved in we had a UserMessage class which displayed error messages and other user feedback in a niceley presented way - see examples below:


So what are these validation controls? Well a validation control is a control which can be either dragged onto a web form design surface in Visual Studio.net or it can typed into the aspx source of a web form. It essentially runs as a server control which may render some client side validation code depending on the settings of the control - what I mean is that validation controls can be set to run client side or server side.
The easiext way to get to grips with these controls is to have a look at one in action. There are differnt types of validation controls as follows:
- RequiredFieldValidator
- RangeValidator
- RegularExpressionValidator
- CompareValidator
- CustomValidator
We will first have a look at the RequiredFieldValidator and then look at the others in less detail afterwards.
The RequiredFieldValidator as its name suggests is used to validate that an entry has been entered for a form field. A good example would be when registering for a service it is required that an email address and password are entered. We will use this as our example. Create a web form containing the following in one of your web projects, or create a new project for these examples if you like:
If you now switch to design view you can drag a RequiredFieldValidator onto the design surface below the table. The RequiredFieldValidator can be found in the Validation group in the toolbox as shown below:

You should place this on your form where you want the mesage to be displayed to the user should validation fail so in this case I will place it just underneath submit button.
Once you have placed the control on the form, you should be able to see the control properties in the properties toolbox which should be as below:

If you click on the ControlToValidate property then you will get a drop down list of all available controls. Choose the one which you want this control to validate, in this case the EmailAddress field.
You should also set the Error Message property to some appropriate message which will be displayed should the validation fail. Notice also that the Enable ClientScript property is set to true by default. This means that when the server control renders itself, it will send some client side Javascript to the client which will perform validation using Javascript.
You can test this by hitting submit without entering an email address. Now try seting the EnableClientScript property to false and test again. You should see exactly the same end result apart from the page was posted back and validation code was executed on the server.
An interesting point to note here is that if you have EnableClientScript set to true but the client has disabled client side scripting then the control will still work by posting back and running code server side. This is good practice as even if you are hand writing client side validation then you should also write server side validation too so that malicious users cannot bypass data sanitation by disabling client side scripting.
That concludes our introductory look at validation controls as although there is a lot more to them, they are pretty intuitive to use once you drag one on the form and have a look at their properties so ahead and have a with the other types of validation controls.
Comments as alwasy are welcome by completing the form below.